17.1. Changing Your Registered Information #
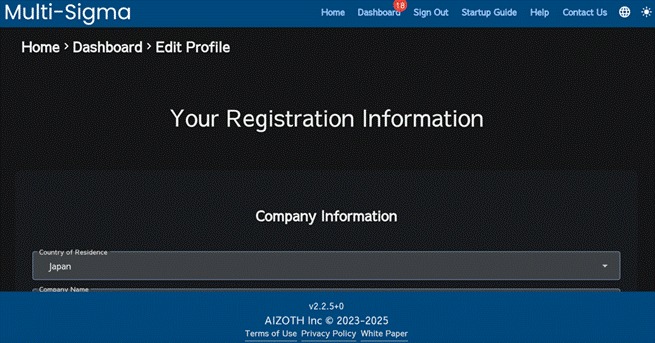
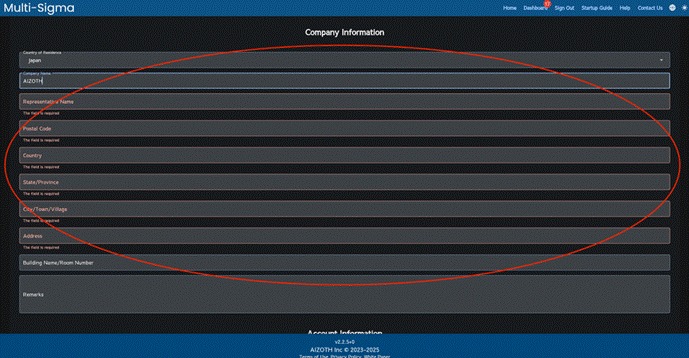
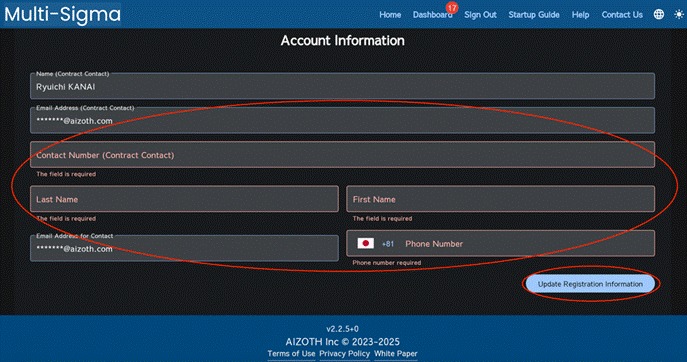
If you would like to change your registered information, click the “Dashboard” tab and scroll to the bottom of the page. And then, click the “Edit” button in the “Profile” section. You will see input fields for “Company Information” and “Account Information”. Enter the updates, then click “Update Registered Information”.

17.2. Changing Your Password #
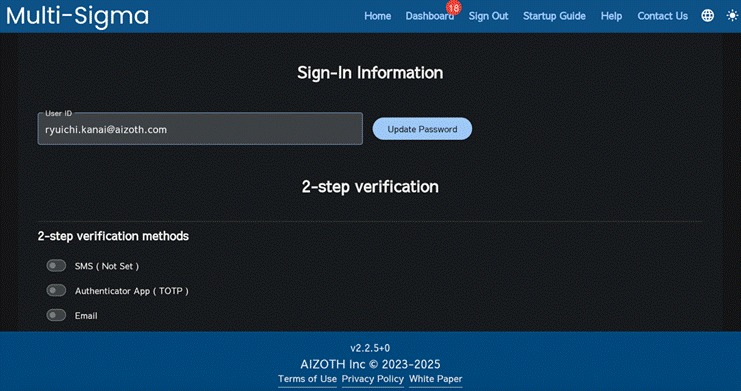
To change your password, follow the same steps as for changing your registered information: In the Dashboard tab, click “Edit” button in the profile section. In the “Your Registration Information” window scroll down to “Sign-in Information” and click the “Update Password” button to change your password.
17.3. Requesting Cancellation / Account Deletion During an Ongoing Contract #
If you wish to request cancellation or delete your account during an active contract period, please submit a cancellation request or contact us directly.
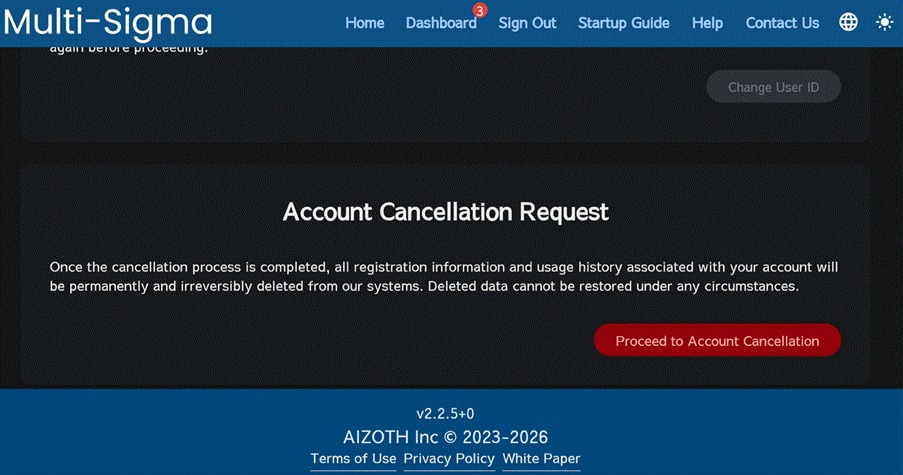
To submit a cancellation request, scroll down to the “Profile” section at the bottom of the dashboard tab click “Edit”. In the “Your Registration Information” window scroll down to “Account Cancellation Request” and then please click “Proceed to the Account cancellation”.
NOTE: For group management contracts (multi-license contracts), only the group administrator can submit a cancellation request. Users within the group do not have access to the cancellation request screen.
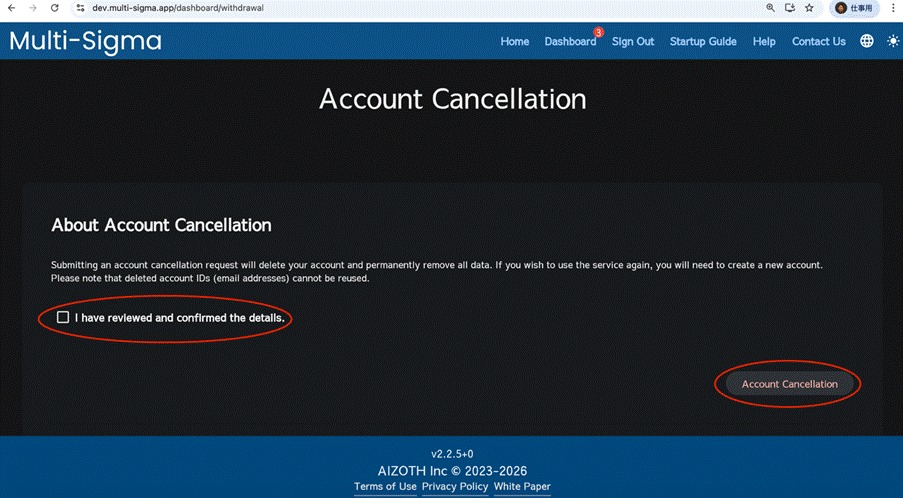
Please review the information regarding the cancellation request. If you agree, select the checkbox and click “Cancellation Request”. Please note that submitting this request does not immediately cancel your account or delete it at this stage.
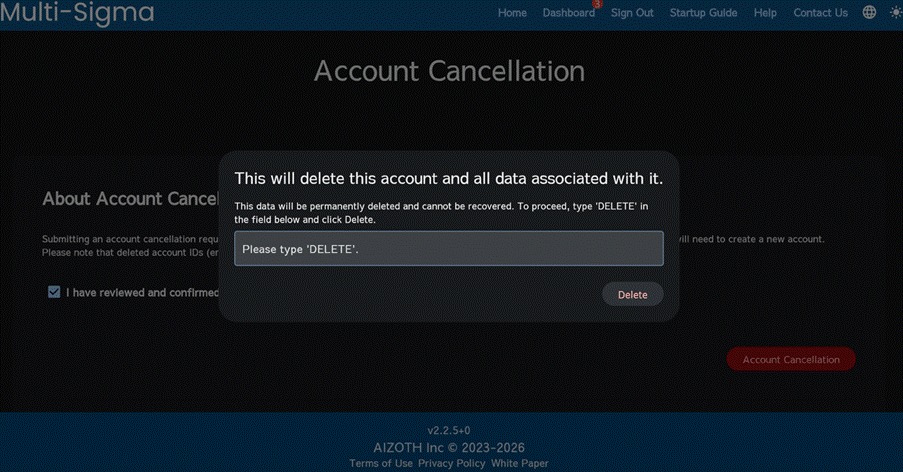
As a final confirmation, please type “DELETE” into the input field and click “Delete”. Your cancellation request/account deletion will then be processed.
NOTE: When you cancel your membership, all information associated with your account will be deleted. Please review the Multi-Sigma Terms of Use again as well.
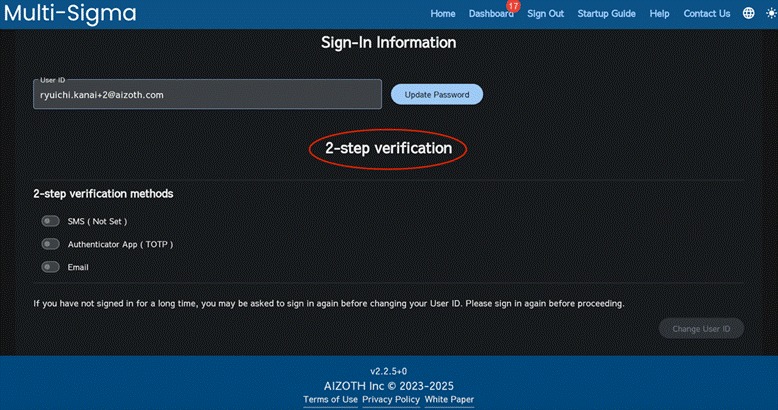
17.4. Setting Up Multi-Factor Authentication #
If you would like to use multi-factor authentication when logging in to Multi-Sigma, you can choose from three methods: (1) SMS, (2) an authenticator app, or (3) email.
Go to the Dashboard, scroll down the page, and click the “Edit” button in the profile section.
On the Your Registration Information screen, scroll down to display the 2-step verification settings section.
17.4.1 Using SMS for Multi-Factor Authentication #
Prior to setting up the multi-factor authentication, please fill all the required fields in the “Company Information” and “Account Information” sections, and then click “Update Registered Information”.
When you select SMS as the authentication method, a pop-up message will appear stating, “Your registered phone number will be used to send a verification code”.
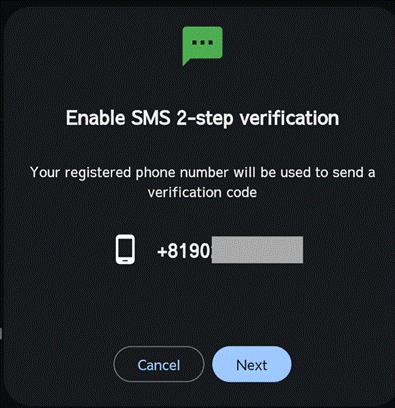
Then, click “Next”, and a 6-digit code will be sent to your registered phone number. Enter the 6-digit code on the Multi-Sigma window. SMS-based two-step authentication has now been set up, and the SMS two-step verification will be enabled from your next sign-in.
If you have not signed in for a long time, you may be asked to sign in again when registering multi-factor authentication. In that case, please sign out once and then sign in again. After that, please proceed with the multi-factor authentication setup steps.
17.4.2 Using an Authenticator App for Multi-Factor Authentication #
When you select Authenticator App as the authentication method, a pop-up will appear asking, “Do you have an authenticator app?”
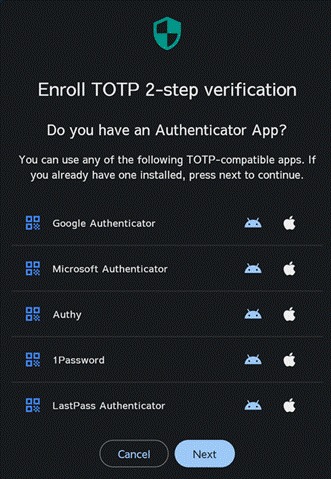
Please install one of the authenticator apps shown on this window on your device. After installation, click “Next”. Then, a QR code and secret key will be displayed. Use your authenticator app to scan the QR code or enter the secret key.
After that, click “Next” to proceed to the screen where you can enter the 6-digit code generated by the authenticator app. Enter the 6-digit code shown in the app. Authenticator app–based two-step authentication has now been set up, and the two-step verification using the authenticator app will be enabled from your next sign-in.
If you have not signed in for a long time, you may be asked to sign in again when registering multi-factor authentication. In that case, please sign out once and then sign in again. After that, please proceed with the multi-factor authentication setup steps.
17.4.3 Using Email for Multi-Factor Authentication #
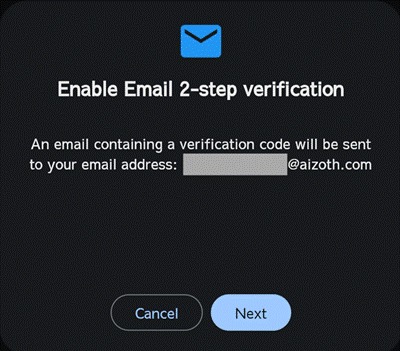
When you select Email as the authentication method, a pop-up screen titled “Enable Email 2-step verification” will appear. Click “Next”, and a 6-digit verification code will be sent to your registered email address. You will then be prompted to enter the email verification code in Multi-Sigma, so please enter the 6-digit code you received.
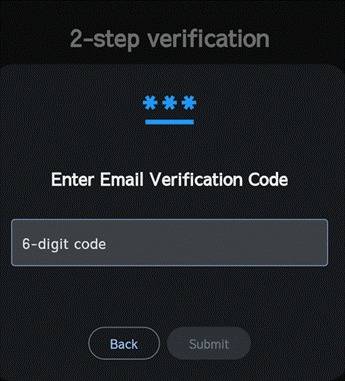
After that, if you receive an email titled “[Multi-Sigma] Email 2-step verification code”, email-based two-step verification has been activated.
If you have not signed in for a long time, you may be asked to sign in again when registering multi-factor authentication. In that case, please sign out once and then sign in again. After that, please proceed with the multi-factor authentication setup steps.
17.4.4 Setting Up Multiple Methods #
You can set up both SMS verification and authenticator app verification at the same time. However, email verification can only be selected on its own, so you cannot enable email verification together with SMS verification or authenticator app verification.


